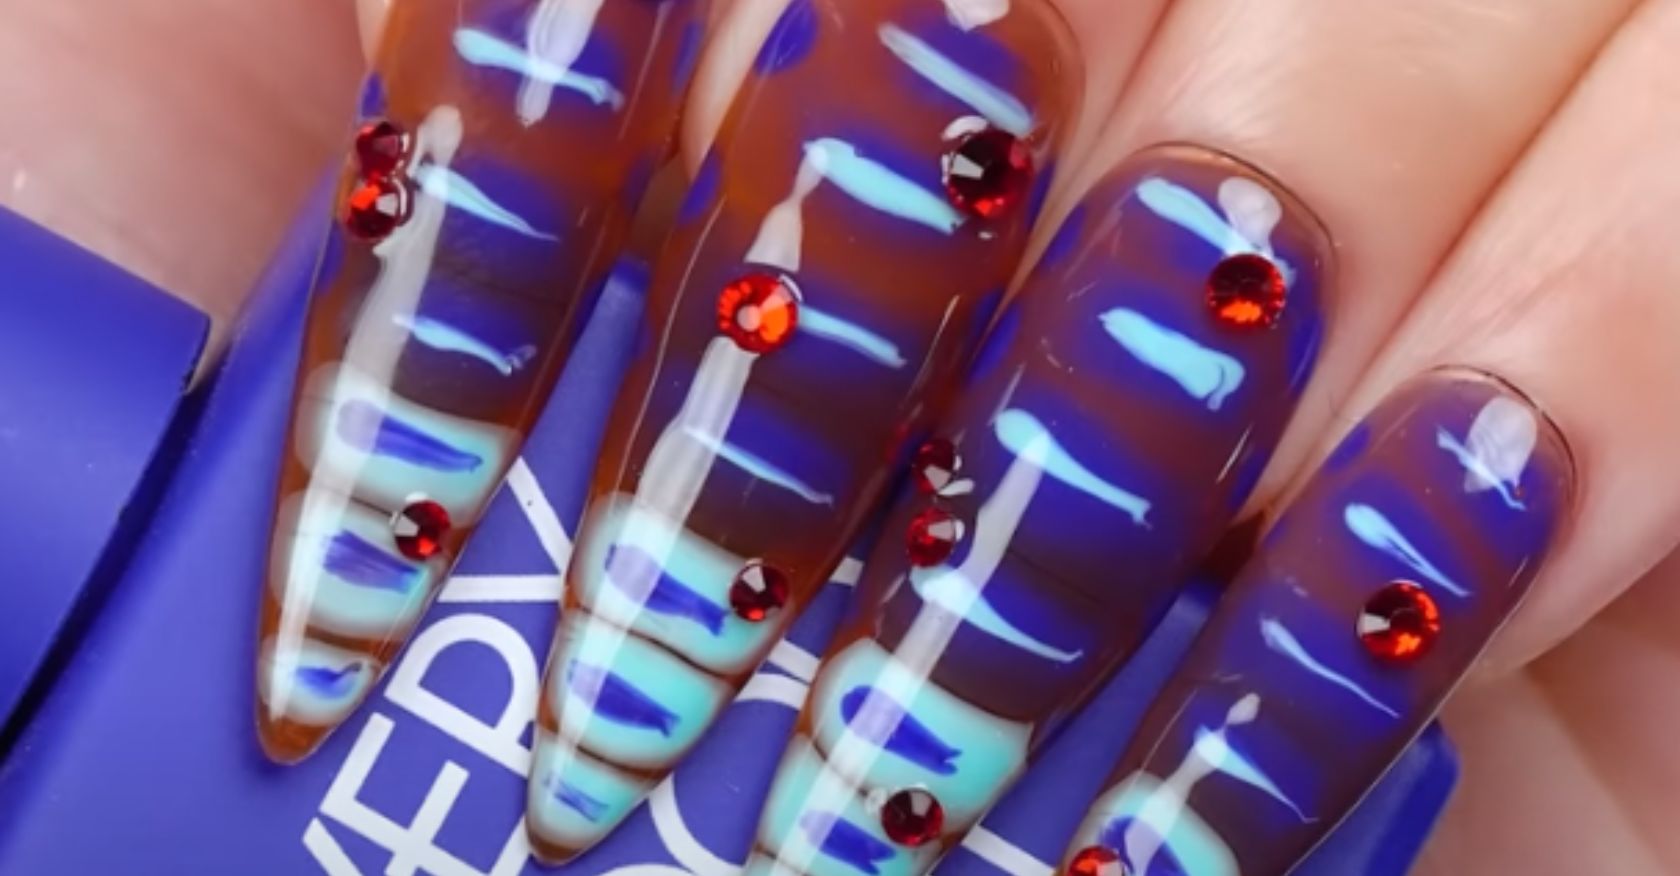
Are you a nail enthusiast looking to elevate your nail art game and express your creativity through stunning designs? Whether you’re a beginner or a seasoned DIY nail artist, this comprehensive nail art design compilation is tailored just for you! In this blog post, we’ll share some fantastic tips and tricks to help you achieve eye-catching nail designs right from the comfort of your own home. So, let’s dive in and turn those plain nails into dazzling works of art!
1. Preparing Your Nails
Before diving into the exciting world of nail art, ensure that your canvas (your nails!) is prepped and ready for the design process. Follow these steps for a perfect base:
- Clean and Trim: Start by thoroughly cleaning your nails with nail polish remover to remove any traces of oil or previous nail polish. Trim and shape your nails to your desired length.
- Buff and File: Gently buff the surface of your nails to smoothen out any ridges, and use a nail file to shape them according to your preference. Remember, a smooth base helps the nail art adhere better and last longer.
- Apply a Base Coat: Never skip the base coat! Applying a clear base coat not only protects your nails from staining but also creates a smooth surface for your nail art to adhere to.

2. Essential Nail Art Tools
Having the right tools at your disposal can make all the difference when creating intricate nail art designs. Here are some essential tools to invest in:
- Nail Brushes: A set of nail brushes with various bristle sizes will help you achieve different designs, from fine details to broad strokes.
- Dotting Tools: These simple tools can create various-sized dots on your nails, adding dimension to your designs.
- Striping Tape: Striping tape allows you to create clean and precise lines for geometric patterns and other designs.
- Nail Stamps and Plates: Nail stamping kits are a fantastic way to achieve intricate designs effortlessly.
- Nail Rhinestones and Studs: Adding some bling to your nails can take your designs to the next level.

3. Mastering Basic Nail Art Techniques
Now that you have the tools, it’s time to learn some fundamental nail art techniques to create stunning designs. Practice these techniques and get comfortable with them before moving on to more complex designs:
- Gradient Nails: Achieve a beautiful ombre effect on your nails by blending two or more nail polish colors.
- Stamping: Nail stamping is a quick and easy way to transfer intricate designs onto your nails using a nail stamping plate.
- Water Marble: Create mesmerizing patterns by dropping nail polish into a cup of water and manipulating the colors with a toothpick.
- Dotting: Dotting tools come in handy to create polka dots, flowers, and other simple patterns.

4. Nail Art Design Inspirations
Finding inspiration for your nail art designs is an exciting part of the creative process. Here are some sources where you can discover new ideas:
- Pinterest and Instagram: These platforms are treasure troves of nail art designs. Follow nail artists and hashtags for endless inspiration.
- Magazines and Blogs: Nail art magazines and blogs often feature step-by-step tutorials and design ideas.
- Nature and Artwork: Draw inspiration from nature, artworks, patterns, and textures around you.

5.Tips for Long-Lasting Nail Art
What’s the point of creating beautiful nail art if it doesn’t last long? Follow these tips to ensure your designs stay intact:
- Seal with a Top Coat: Always apply a high-quality top coat to protect your nail art and extend its longevity.
- Avoid Excessive Water Exposure: Prolonged exposure to water can cause chipping. Wear gloves while doing chores and avoid soaking your nails for long periods.
- Reapply Top Coat: Reapplying a thin layer of top coat every few days can help maintain your nail art’s shine and durability.

With these tips and tricks in your nail art arsenal, you’re well on your way to becoming a DIY nail art pro! Remember, practice makes perfect, so don’t be afraid to experiment with different designs and techniques. Embrace your creativity, have fun, and show off your stunning nail art to the world. Happy DIY nail art journey!


